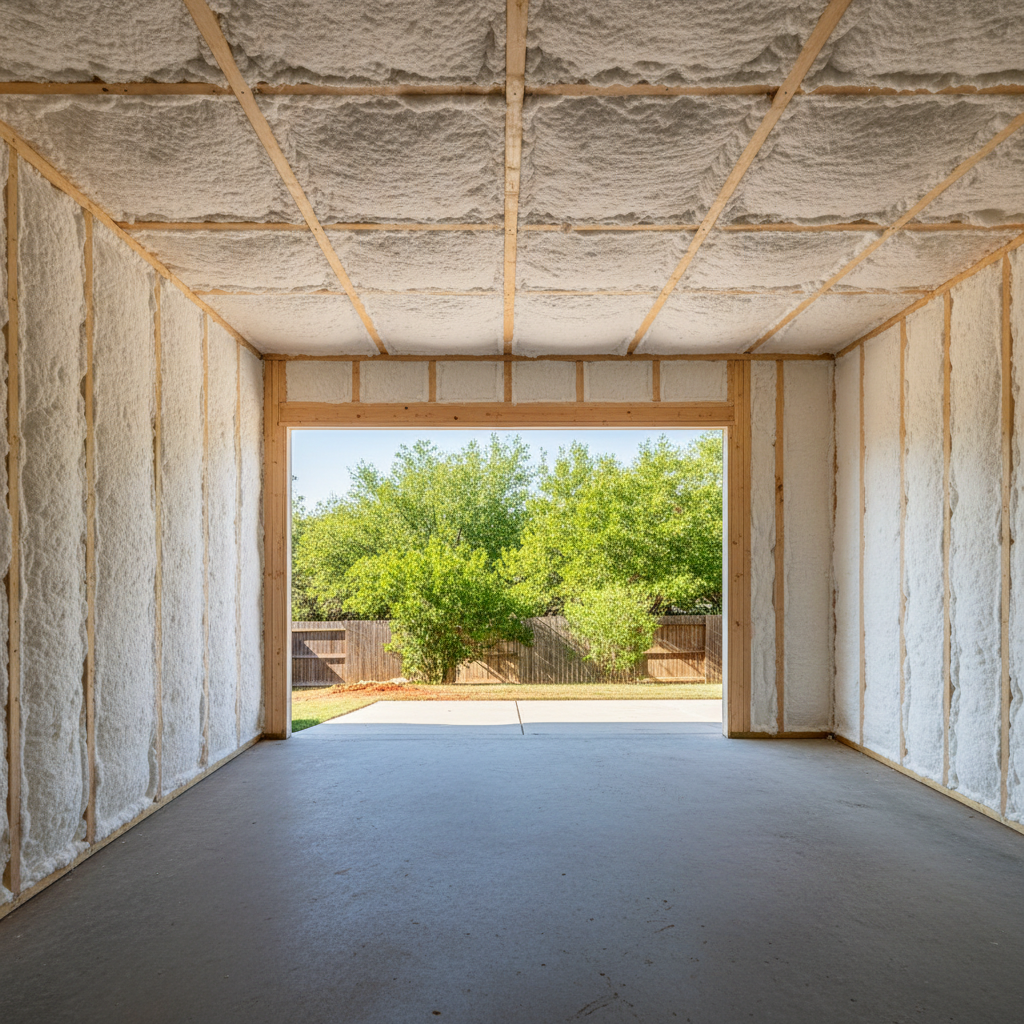
So, you're thinking about insulating your garage. Smart move, honestly. That Cedar Park heat can turn a garage into an oven, making it pretty useless for anything but storing stuff you don't care about melting. Or maybe you're just trying to keep the cold out in winter, which happens too. Either way, insulating your garage is a solid investment, and it's not as complicated as you might think — especially if you know what's coming. I've been doing this for years with Alpha Insulation Co, and let me tell you, I've seen a lot of garage projects. So, let's break down what you need to know to get this done right.
Setting Your Project Timeline
First off, let's talk about how long this whole thing takes. It really depends on your garage's size and the insulation type you pick. For most standard two-car garages, the actual installation usually takes about one to two days. That's for things like spray foam or batt insulation. If you're doing something more complex, like adding drywall after the insulation, then yeah, that'll stretch it out.
But the installation itself isn't the whole timeline, is it? You've got to factor in getting quotes, scheduling, and some prep work. I'd say from the moment you decide you want insulation to the day it's finished, give yourself at least two to four weeks. That gives you plenty of time to chat with a few contractors, compare bids, and make sure everyone's on the same page. Seriously, don't rush this part; a little planning upfront saves a lot of headaches later on.
What to Expect During Installation
Alright, the crew shows up. What's going to happen? It's usually a pretty straightforward process, though it can get a little messy depending on the insulation type. Here’s a general idea:
- Arrival and Setup: The crew will arrive, introduce themselves, and start getting their equipment ready. This usually means bringing in insulation materials, hoses for spray foam rigs, and protective gear. They'll also lay down drop cloths to protect your floors and anything else nearby.
- Preparation: If there's any old insulation to remove, that's the first step. For new installs, they'll make sure the studs are clear and any wires or pipes are properly secured. They might also seal up any major gaps or cracks in the walls or ceiling before insulating.
- Installation: This is the main event. If it's batt insulation, they'll cut and fit the fiberglass or mineral wool into the wall cavities. If it's spray foam, they'll spray it directly onto the surfaces. This part can be noisy and, with spray foam, there will be an odor for a while. They'll usually ventilate the area really well.
- Cleanup: Once the insulation is in, the crew will clean up all their materials, sweep, and make sure your garage is left tidy. They'll do a final walk-through with you to ensure you're happy with the work.
We always try to minimize disruption, but you'll definitely know we're there. It's a construction project, after all.
How to Prepare Your Garage
You can make the whole process smoother for everyone, especially yourself, by doing a little prep work. Think of it like clearing the decks before a storm:
- Clear the Space: This is the biggest one. Move everything you can out of the garage. If you absolutely can't move it out, push it to the center and cover it with tarps. We need clear access to all the walls and the ceiling. That means bikes, tools, storage bins — everything.
- Protect Valuables: Even with drop cloths, dust and small particles can get everywhere. If you have anything valuable or sensitive in the garage that can't be moved, cover it thoroughly or maybe move it to another part of the house.
- Provide Access: Make sure there's clear access for our vehicles and equipment. If you've got a tricky driveway or a gate, let us know ahead of time.
- Secure Pets: Keep your pets away from the work area. It's for their safety and to prevent any delays.
- Ventilation: If you're getting spray foam, plan to keep the garage well-ventilated for at least 24-48 hours after installation. It's a good idea to stay out of the garage during that time, too, to let any odors dissipate.
A little effort from you on the front end goes a long way. It helps us work efficiently and keeps your stuff safe.
Questions to Ask Before You Sign
Before you commit to a contractor, you really need to ask some pointed questions. Don't be shy; you're hiring them for a significant job. Here are a few I'd recommend:
- What type of insulation do you recommend for my garage, and why? They should be able to explain the pros and cons of different materials (batt, blown-in, spray foam) specifically for your situation. For example, some homes in Cedar Park, especially those older ones in places like Anderson Mill, might have unique framing or moisture considerations that influence the best choice.
- What's included in the quote? Make sure it's clear. Does it include material, labor, cleanup, and disposal of old insulation? Are there any hidden fees?
- How long will the installation take? Get a clear timeframe so you can plan your schedule.
- What kind of warranty or guarantee do you offer on your work and the materials? A reputable company will stand behind their product and their installation.
- Are you licensed and insured? Always, always ask this. You want to make sure they're legitimate and that you're protected if something goes wrong.
- What's your cleanup process like? You don't want to be left with a mess.
- Do you handle any necessary sealing or air-gapping before insulating? Proper air sealing is crucial for insulation to perform its best.
Don't just go with the cheapest bid. Look for a contractor who answers your questions thoroughly, seems knowledgeable, and makes you feel comfortable. A good contractor will take the time to explain things, not just rush you into a decision.
Insulating your garage is a smart move for comfort and energy efficiency. Do your homework, ask the right questions, and prepare your space, and you'll have a much more enjoyable garage for years to come.